Connect To A Ducati M3C ECU
This post will teach you step-by-step how to connect to a Ducati M3C ECU. This ECU is featured in the Scrambler, Multistrada, Monster, Diavel, and the Panigale. Once connected to the ECU you can read data or clear the desmo/service light.
Requirements:
- Laptop with Windows 10
- Ducati 4-pin to 16-pin OBD2 cable
- USB ELM327 v1.5 Dongle
- (Both these cables can be purchased in a kit from our store here)
Procedure:
1. Create a folder on your computer anywhere you’d like, called Ducati
2. Create two folders inside the Ducati folder. One called Tools, and one called Cable Drivers

3. Head over to JPDiag’s website and scroll down to MelcoDiag and click the download button. (Click here to download directly)
4. Unzip the file into the Tools folder.

5. Download the cable driver here, look for the file under “USB Drivers” and put it into the Cable Drivers folder
6. Run the application to install the cable driver.

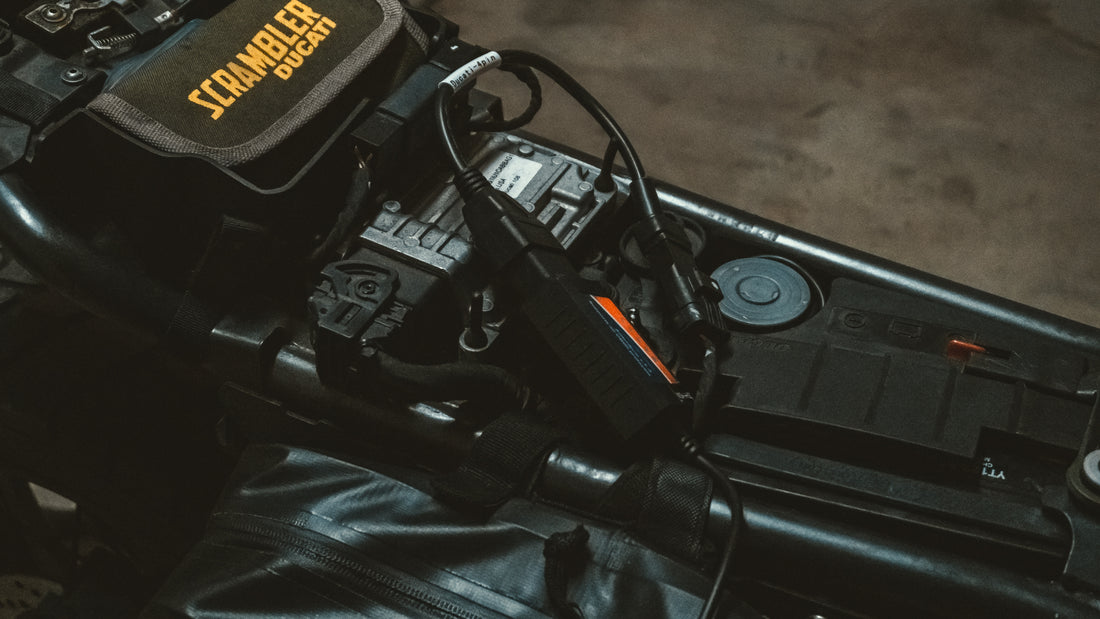
7. Next, remove the seat on your bike to access the Ducati 4-pin connector, remove the cover on the connector, then connect the 4-pin to 16-pin OBD2 cable into the connector on the bike.
8.) Connect the 4-pin to 16-pin OB2 cable into the USB ELM327 dongle and then connect the dongle to your laptop.

9. Open Device Manager on your laptop, open Ports (COM & LPT), right click on the device and select properties. Go to port settings and set the Bits per second to 38400 and click OK. Close Device Manager.

10. With all cables connected, open MelcoDiag. Make sure the COM# and the baud rate from the drop down is 38400 (In this case, COM5 in device manager and COM5 in MelcoDiag). Check the box for “M3C” ECU. Turn your bike on and then click the “Connect” button.

11. Once the software has connected with the ECU, check the “Yes” boxes (uncheck the “No” boxes too”) on the bottom right of the window to whatever applies. Then click the “Get License” button. This will load up the license form, fill out your bike year/model and email then hit send.
12. The license will be emailed to you, this may take some time so you can disconnect the cables / laptop, and put the seat back on the bike. Once the license is emailed to you, download the license file into the Tools folder.

13. Once you have the license file placed in the Tools folder, repeat the connectivity steps in 7, 8, and 10.
14. With MelcoDiag opened, navigate to the Resets tab to reset the service and/or Desmo light.

15. Finally, once you are done navigate to the Main tab and click disconnect. Remove the cables, install the cover back on the 4-pin connector, and re-install the seat
